CheckBox control WPF in VB.NET
This article describes how to create and use the checkbox control in WPF using XAML.
CheckBox control
CheckBox control enables the user to select and deselect the associated option. When a checkbox is selected a check (a tick mark) appears indicating a selection.
Creating CheckBox control in XAML
<CheckBox Content="CheckBox" Height="16" HorizontalAlignment="Left" Margin="10,10,0,0" Name="checkBox1" VerticalAlignment="Top" />
The Width and Height property represents the width and the height of the control. Name property represents name of the control. The Header property of TabControl represents the header text of the header.
For example
Addding two CheckBox control, one TextBox and one Button control in XAML.
XAML code
<CheckBox Content="CheckBox" Height="16" HorizontalAlignment="Left" Margin="10,10,0,0" Name="checkBox1" VerticalAlignment="Top" />
<CheckBox Content="CheckBox" Height="16" HorizontalAlignment="Left" Margin="10,48,0,0" Name="checkBox2" VerticalAlignment="Top" />
<Button Content="Button" Height="23" HorizontalAlignment="Left" Margin="12,95,0,0" Name="button1" VerticalAlignment="Top" Width="75" />
<TextBox Height="23" HorizontalAlignment="Left" Margin="10,153,0,0" Name="textBox1" VerticalAlignment="Top" Width="120" />
Now double click on the Button control and add the following code.
Private Sub button1_Click(ByVal sender As System.Object, ByVal e As System.Windows.RoutedEventArgs) Handles button1.Click
If checkBox1.IsChecked Then
textBox1.Text = "Checked"
ElseIf checkBox2.IsChecked Then
textBox1.Text = "Unchecked"
End If
End Sub
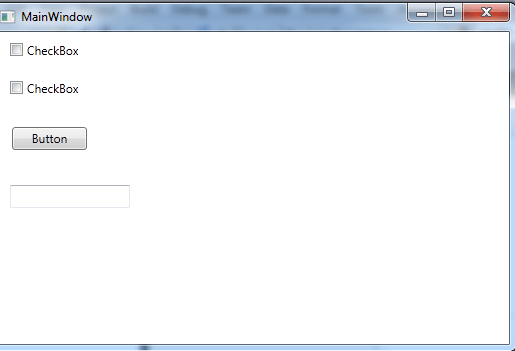
Now run the application.

Figure1.gif
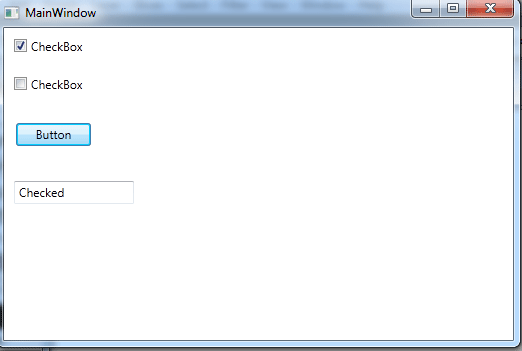
Now select first CheckBox and Click on the Button control.

Figure2.gif