Copying A Document To Your Project File In Project 2010
In this article, I will demonstrate how copy a document to your project title in project 2010.
Introduction
You can add planning documents created in other programs within Project 2010. This will increase the size of your project, but you will know that all your project information is stored in one place. Basic steps to include the document are given below.
Step 1
On the Format Tab, in the Show/Hide group click Project Summary Task.

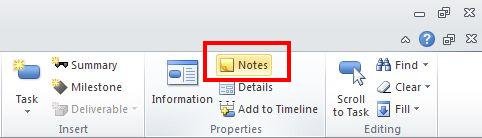
Step 2
On the Task Tab, in the Properties group click Notes.
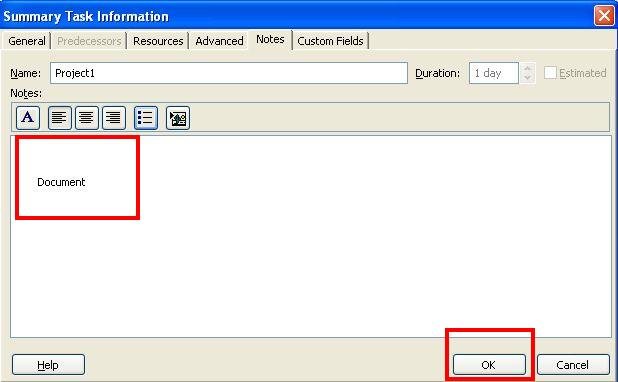
Step 3
On the Notes Tab, click the Insert Object button. Click OK.

Step 4
In the Insert Object dialog box, select the Create From File option, and then click the Browse button.
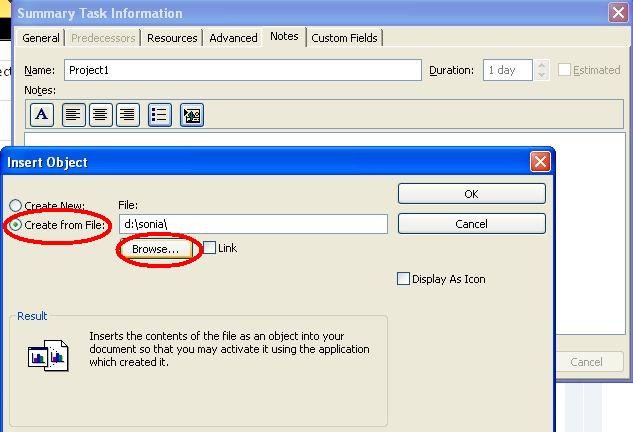
Step 5
In the Browse dialog box, select the project planning document you want to attach in your project. Click the Insert button.
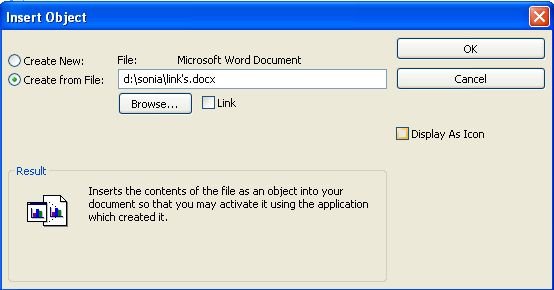
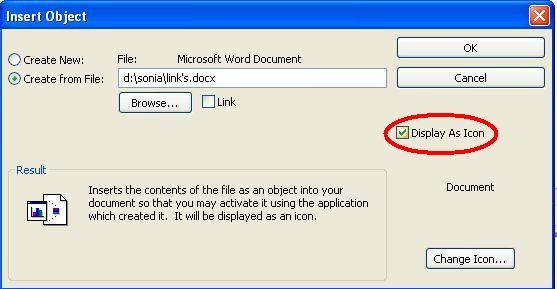
Step 6
In the Insert Object dialog box, select the Display As Icon check box. Click Ok
Step 7
Click OK.