Creating Cube In SQL Server Analysis Services 2008
In today's article you will learn about how to create cube in SQL Server Analysis Services 2008.
In today's article you will learn about how to create cube in SQL Server Analysis Services 2008. An OLAP (Online analytical processing) cube is a data structure that allows fast analysis of data. It can also be defined as the capability of manipulating and analyzing data from multiple perspectives. The arrangement of data into cubes overcomes some limitations of relational databases.
Steps in creating a Cube
- Creating Analysis Services Project
- Define Data Source
- Creating Data Source View
- Creating Cube And Dimensions
- Process the Cube
Follow Given steps to create your first cube.
Step 1
Creating Analysis Services Project
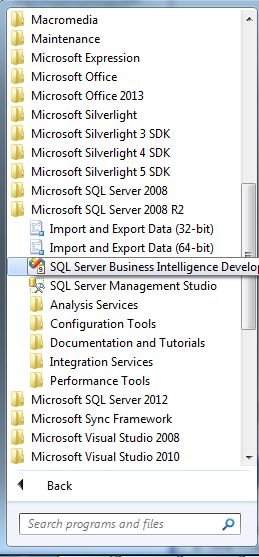
Open SQL Server Business Intelligence Development Studio. Start --> All Programs --> Microsoft SQL Server 2008 --> SQL Server Business Intelligence Development Studio.
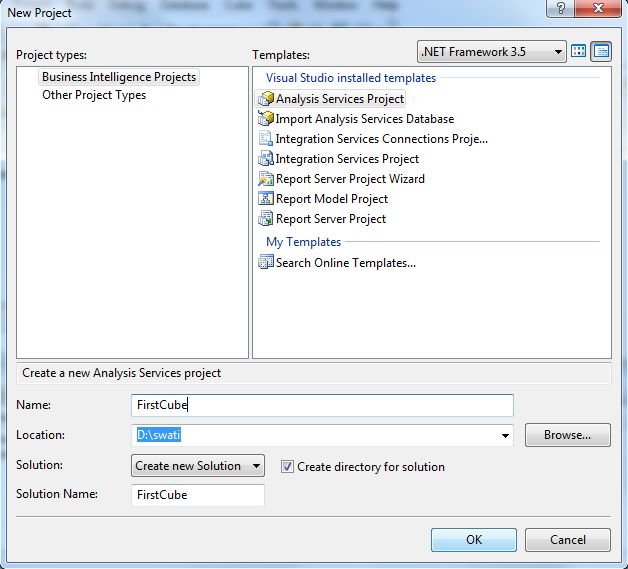
Click File --> New --> Project. Select the Analysis Services Project from the Visual Studio installed templates category of the New Project dialog, then type the name of the project in the Name text box, and click OK.
Step 2
Define Data Source
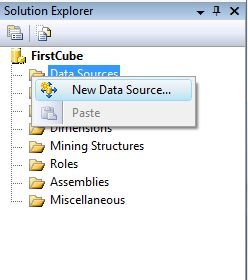
To add a data source, In Solution Explorer, right-click the Data Sources folder and click New Data Source.
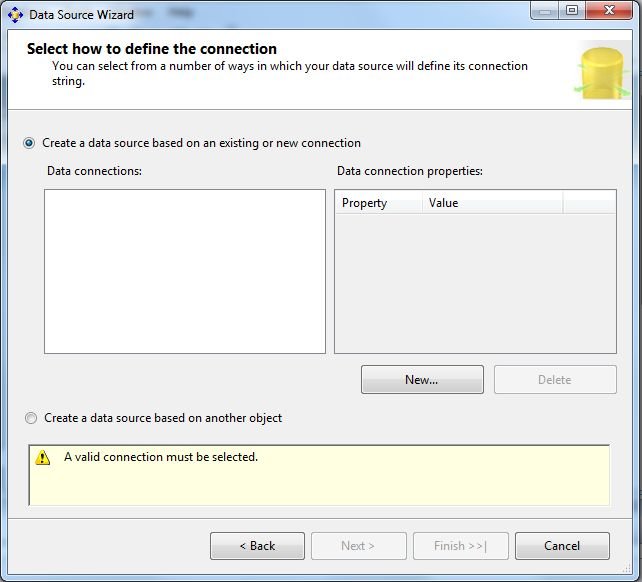
Click Next In the Data Source Wizard. On the Select how to define the connection page, click New to set up a new connection.
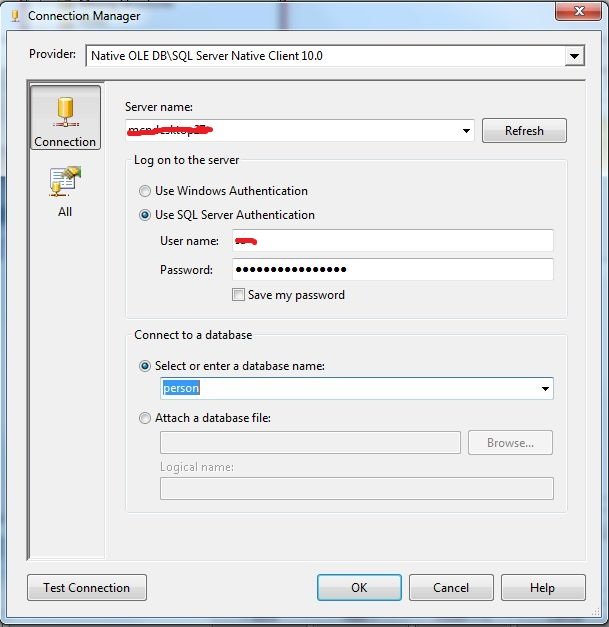
Define Connection Type, name of server, select database and Click Test Connection to check the connection. Click OK.
When you're back in the Data Source Wizard, click Next.
Step 3
Creating Data Source View
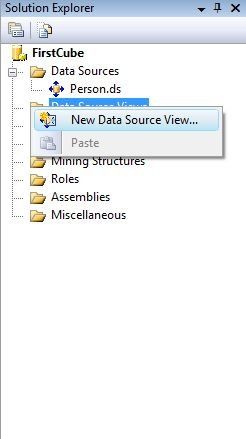
In Solution Explorer, right-click on the Data Source Views folder and then click New Data Source Views. Click Next on the Welcome page.
Select the data source from the Select a Data Source page and click Next. On the Select Tables and Views wizard page, select tables and views from the list of objects that are available from the selected data source. Then click finish.
Step 4
Creating Cube And Dimensions
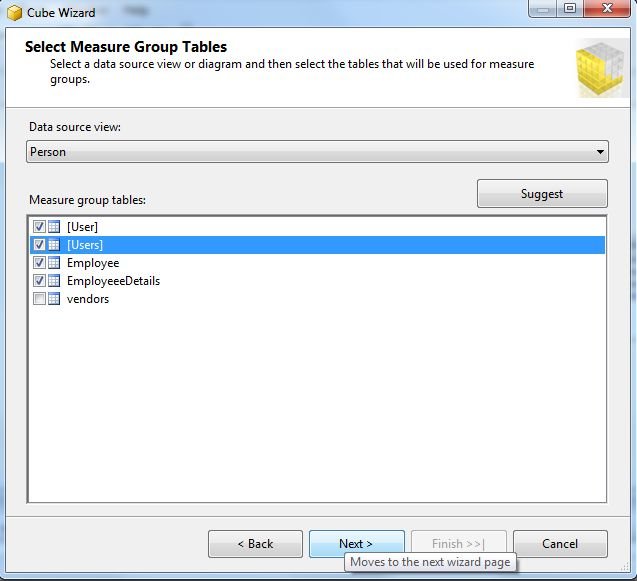
In Solution Explorer, right-click on the Cubes folder and then click New Cube. On the Select Creation Method page, keep the default option Use existing tables and click Next button. Then select the objects that needs to participate in the CUBE development. If you are not sure then click on the suggest button.
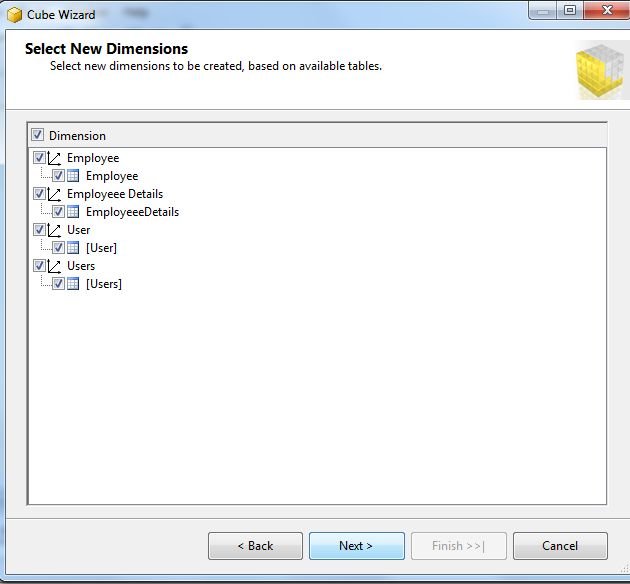
Click Next Button to open the Select New Dimension page and select dimensions. Click Next to continue.
In Completing Wizard, enter the valid cube name and click Finish to close the wizard.
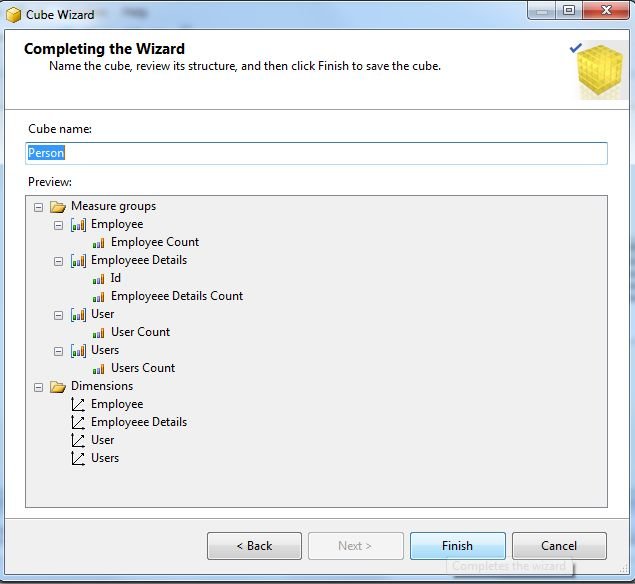
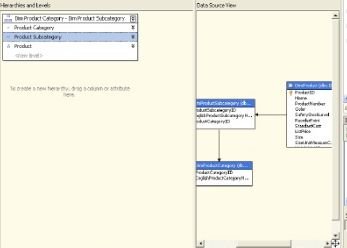
Cube layout is shown below.