HiddenField Control in ASP.NET using VB.NET
This article describes the HiddenField control, which enables you to keep information in an ASP.NET Web page without displaying it to users.
This article describes the HiddenField control, which enables you to keep information in an ASP.NET Web page without displaying it to users.
HiddenField control:
HiddenField control is used to store a value that needs to be persisted across multiple postbacks to the server.Hidden variables are the special variables that retain inside a webpage and submit automatically to next page. Use HiddenField control to manage such fields:
For example:
Create a web form to input Name and Age of a person and transfer control to second page. On second page get Email and Mobile and send response to third page and show it.
Page1.aspx -> Page2.aspx -> Page3.aspx.
Page1
Drag two textbox and one button on the form which has the name page1.
Page1 looks like this:
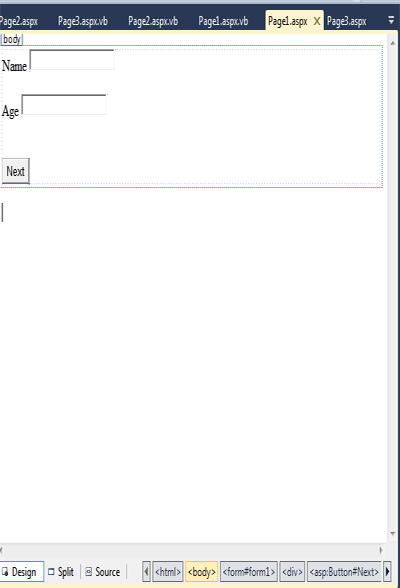
Figure 1.
Set the properties of textbox controls. such as
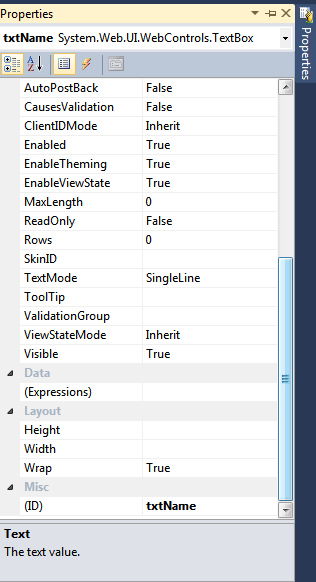
Figure 2.
Now double click on the button (next) on the form and add the following code.
Protected Sub Next_Click(ByVal sender As Object, ByVal e As EventArgs) Handles [Next].Click
Server.Transfer("Page2.aspx")
End Sub
End Class
Page2
Drag two textbox, one button and two hiddenfield control on the form which has the name page2.
Page2 looks like this:
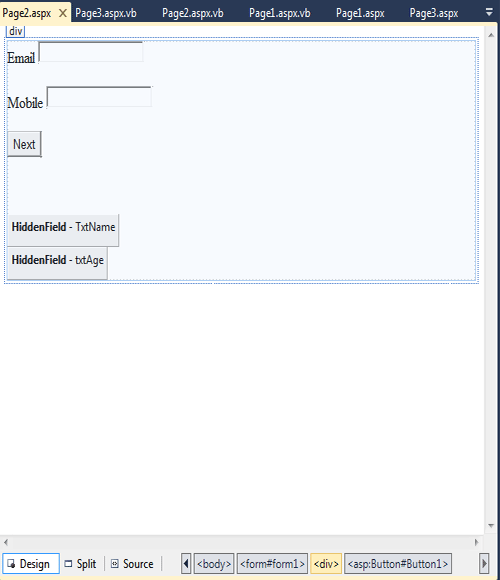
Figure 3.
Set the properties of textbox controls.
Figure 4.
And also set the properties of the hiddenfield control. such as
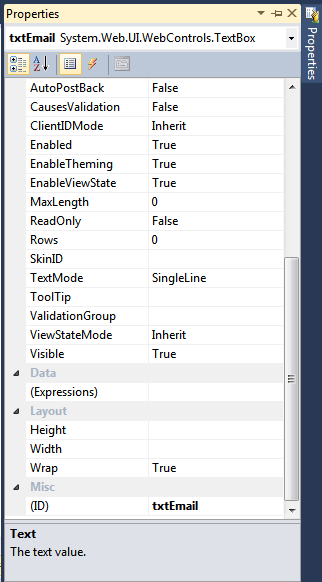
Figure 5.
Now double click on the form and add the following code.
Protected Sub Page_Load(ByVal sender As Object, ByVal e As System.EventArgs) Handles Me.Load
TxtName.Value = Request.Form("txtName")
txtAge.Value = Request.Form("txtAge")
End Sub
Now double click on the button control and add this code.
Protected Sub Button1_Click(ByVal sender As Object, ByVal e As EventArgs) Handles Button1.Click
Server.Transfer("Page3.aspx")
End Sub
Page3
Drag four label controls on the form. and set the ID properety.
Form looks like this.
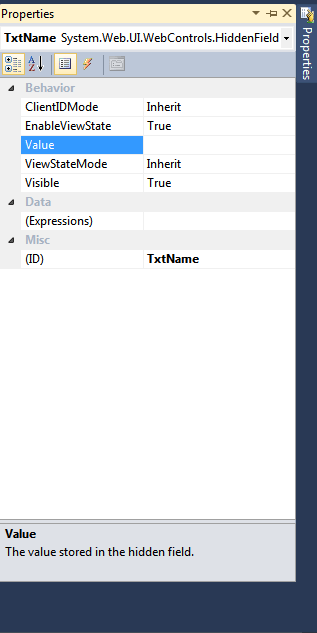
Figure 6.
And set the ID properety of every label controls. such as
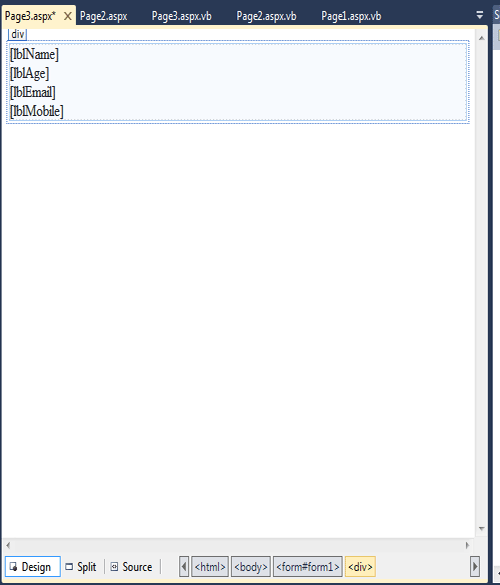
Figure 7.
Now save and run the application.
Page1 will be display and enter the name and age on the textbox. forms looks like this.
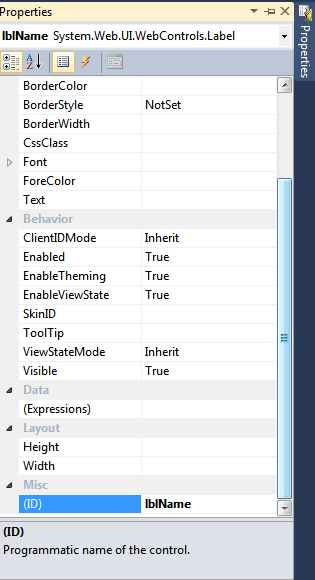
Figure 8.
Now click on the Next button. page2 will be display and enter the email and mobile number on the textbox. form2 looks like this:
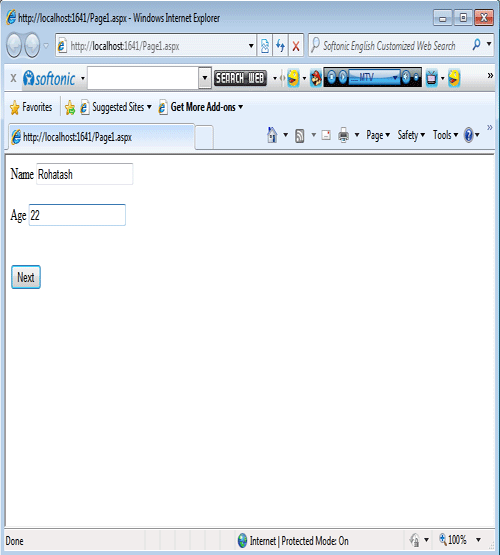
Figure 9.
Now click on the next button. page3 will be display.
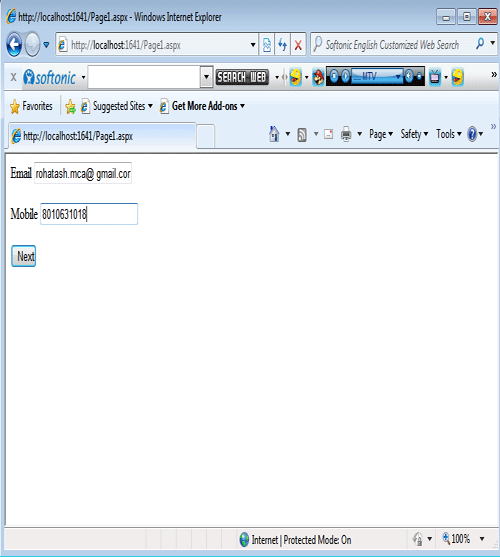
Figure 10.
The above form shows that the information of first page will be display on the third page with the help of HiddenField control.