Image control WPF in VB.NET
This article demonstrates how to create and use the image control in WPF using XAML.
Image Control
The image control can be used to display images with the help of source property in XAML.
Creating Image control in XAML
<Image Height="150" HorizontalAlignment="Left" Margin="10,10,0,0" Name="Image1" Stretch="Fill" VerticalAlignment="Top" Width="200" />
The Width and Height property represents the width and the height of the control. Name property represents name of the control.
For example
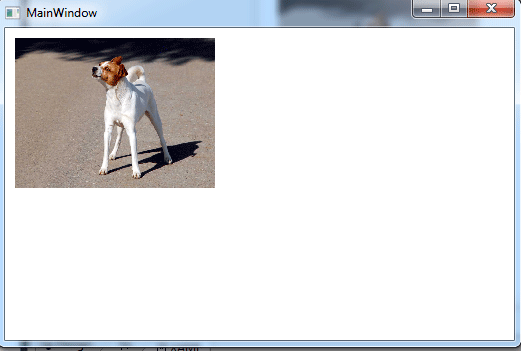
Now using the source property of the of the Image control.
<Image Height="150" HorizontalAlignment="Left" Margin="10,10,0,0" Name="Image1" Stretch="Fill" VerticalAlignment="Top" Width="200" ImageFailed="Image1_ImageFailed" Source="/WpfApplication64;component/Images/dog-animal.jpg" />
Now run the application.

Figure1.gif
Stretch property
This property can have the following values:
None
This will do no modification on the size of the image. If the image size is more than the size of the container, then the image will be cut to fit in the container.
Fill
In this case, the image will be expanded to fill the region of the container. The aspect ratio (proportion of width and height) will not be maintained.
Uniform
This is the default value. In this case, the image will be resized to fit the container, but the aspect ratio will be maintained. So, there may be blank space in the container depending on the width and height of the image and container.
UniformToFill
In this case, the image will be resized and will fill the container, but aspect ratio will be maintained by trimming some portion of the image if required.