OpenFileDialog in WPF using VB.NET
This article shows how to create and use a Open FileDialog in WPF using Visual Basic .NET.
The OpenFileDialog is used to browse files on a machine.
The OpenFileDialog class defined in Microsoft.Win32.OpenFileDialog namespace represents an OpenFileDialog control in WPF.
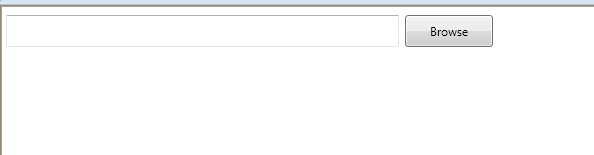
Let's add a TextBox and a Button control to a XAML page. The window looks like this.
When you click the Browse button, we will browse text files and set the TextBox.Text to the selected file name.
<TextBox Height="32" HorizontalAlignment="Left" Margin="6,10,0,0" Name="FileNameTextBox"
VerticalAlignment="Top" Width="393" />
<Button Content="Browse" Height="32" HorizontalAlignment="Left" Margin="405,10,0,0"
Name="button1" VerticalAlignment="Top" Width="88" Click="button1_Click" />
The code listed in Listing 1 creates an OpenFileDialog, set its default extension and filter properties and calls ShowDialog method that displays the dialog. Once the OpenFileDialog is displayed, you can use it to browse files. Once file is selected, the FileName property of the OpenFileDialog is set to the selected file name. This code sets the selected file name as a TextBox.Text property.
Private Sub BrowseButton_Click(ByVal sender As System.Object, ByVal e AsSystem.Windows.RoutedEventArgs)
' Create OpenFileDialog
Dim dlg As Microsoft.Win32.OpenFileDialog = New Microsoft.Win32.OpenFileDialog()
' Set filter for file extension and default file extension
dlg.DefaultExt = ".doc"
dlg.Filter = "Word documents (.doc)|*.doc"
If (dlg.ShowDialog() = True) Then
Dim fileName As String = dlg.FileName
If (dlg.FileName.Length > 0) Then
SelectedFileTextBox.Text = dlg.FileName
End If
End If
End Sub
Download the attached project for more details.