ScrollViewer with Image control WPF in VB.NET
Here we will see how to create an application in which a Image work with ScrollViewer in XAML.
Here we will see how to create an application in which a Image work with ScrollViewer in XAML.
For example
Creating a image control and ScrollViewer control in XAML. The below code defines the Image control and ScrollViewer control.
Creating Image in XAML
<Image Height="150" HorizontalAlignment="Left" Margin="124,21,0,0" Name="Image1" Stretch="Fill" VerticalAlignment="Top" Width="200" />
Using source property
<Image Height="150" HorizontalAlignment="Left" Margin="124,21,0,0" Name="Image1" Stretch="Fill" VerticalAlignment="Top" Width="200" Source="/WpfApplication81;component/Images/image1.jpg.gif" />
Creating ScrollViewer with image
XAML code
<Window x:Class="MainWindow"
xmlns="http://schemas.microsoft.com/winfx/2006/xaml/presentation"
xmlns:x="http://schemas.microsoft.com/winfx/2006/xaml"
Title="MainWindow" Height="350" Width="525">
<ScrollViewer
x:Name="scrollViewImage"
HorizontalScrollBarVisibility="Visible"
VerticalScrollBarVisibility="Visible" >
<Grid
x:Name="gridImageContainer"
Background="Gray"
ShowGridLines="True">
<Grid.ColumnDefinitions>
<ColumnDefinition></ColumnDefinition>
</Grid.ColumnDefinitions>
<Grid.RowDefinitions>
<RowDefinition></RowDefinition>
</Grid.RowDefinitions>
<Image
Grid.Row="0" Grid.Column="0" Name="Image1" Source="/WpfApplication81;component/Images/file5.jpg">
</Image>
</Grid>
</ScrollViewer>
</Window>
Now run the application.
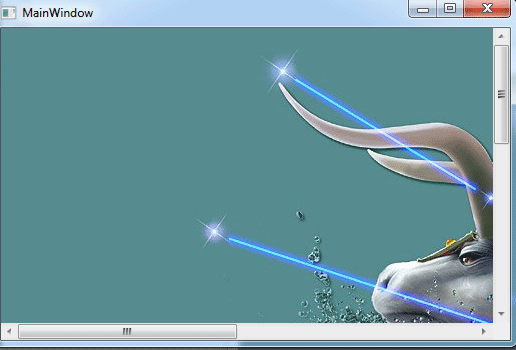
Figure1.gif
Now increase the ScrollViewer.
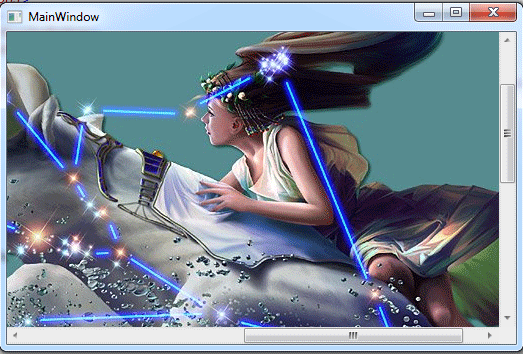
Figure2.gif