Themes and skins in ASP.NET
In this article we will learn how to apply themes and skins in ASP.NET.
In this article we will learn how to apply themes and skins in ASP.NET.
Themes
- A theme is a folder containing some files with .skin extension.
- Each skin file will have the same name as control's class name.
- All the themes must be placed under special folder App_Themes.
- Add this folder from Solution Explorer -> Project -> add-> new items-> skin file.
Creating a skin for a control
- Create a new blank form.
- Add the control for which style is to be created.
- Add the properties.
- Cut and paste the control to corresponding skin file.
- Remove the ID attribute of the skin.
In this article we will learn how to apply themes and skins in ASP.NET
For example:
Drag two textbox and one button on the form named themetest.
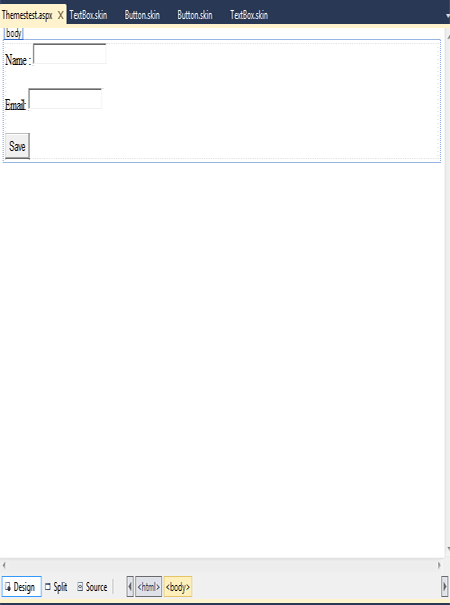
Figure 1.
Add themes folder containing some files with .skin extension.
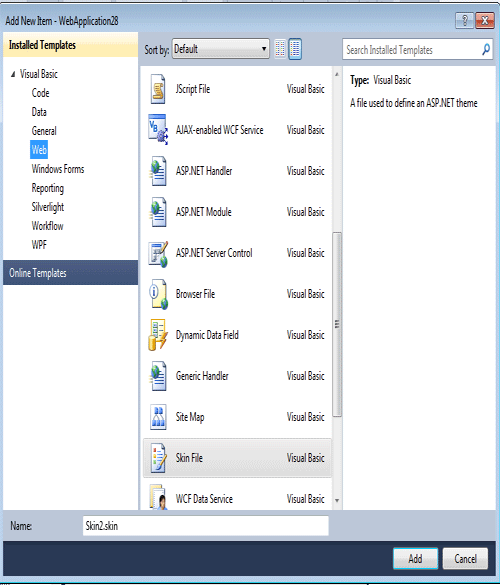
Figure 2
Now we apply themes for button control and textbox control named first and second.
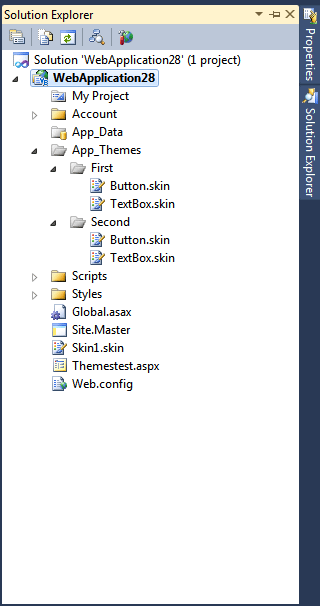
Figure 3.
Now for first skin files add the following code.in.
Button code
<asp:Button runat="server" Text="Button" BackColor="#003399"
BorderColor="#3366FF" BorderStyle="Dotted" Font-Bold="True" ForeColor="White" />
Textbox code
asp:TextBox runat="server" BackColor="#003399"
BorderColor="#3366FF" BorderStyle="Dotted" Font-Bold="True" ForeColor="White"></asp:TextBox>
Now for second skin files add the following code.
Button code
<asp:Button runat="server" Text="Button" BackColor="#003366"
BorderColor="#CC3300" BorderStyle="Groove" BorderWidth="4px" Font-Bold="True"
ForeColor="Yellow"/>
Textbox code
<asp:TextBox runat="server" BackColor="#003366"
BorderColor="#CC3300" BorderStyle="Groove" BorderWidth="4px" Font-Bold="True"
ForeColor="Yellow"></asp:TextBox>
Applying the theme on some page
-Use Theme attribute of Page directive or Theme property of Page class.
protected void Page_PreInit(object sender, EventArgs e)
{
Page.Theme = "Second";
}
Or
Page Language="vb" AutoEventWireup="false" CodeBehind="Themestest.aspx.vb" Inherits="WebApplication28.WebForm1" theme="first" %>
Now save and run the application for First skin file.
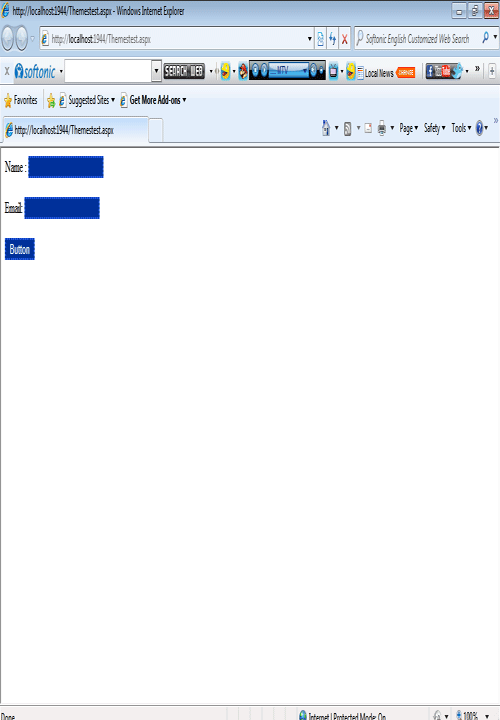
Figure 4.
Now applying second replace only second place of first. such as
Page Language="vb" AutoEventWireup="false" CodeBehind="Themestest.aspx.vb" Inherits="WebApplication28.WebForm1" theme="Second" %>
And again run the application for second skin file.
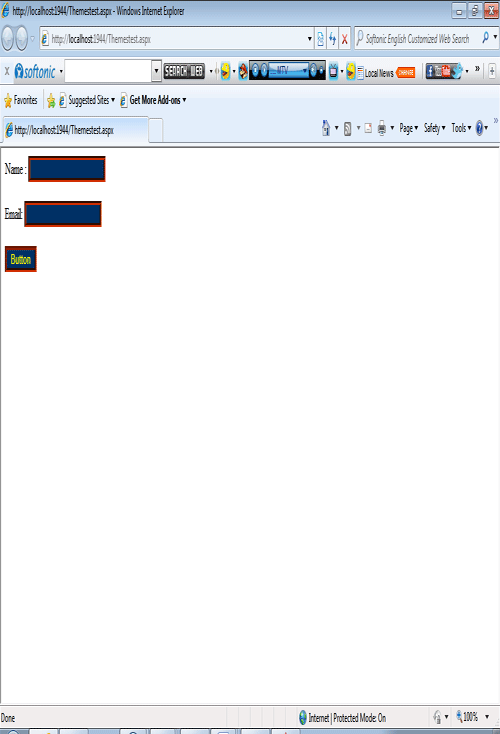
Figure 5