WCF Service Library in a Web Application using VB.NET
In this article, we make a Demo of calculator. Firstly, We make a WCF Service Library in .NET using VB, after that, we add this Web Service in a Web Application by adding Service Reference of the particular WCF Service
Introduction: Using WCF service library in a Web Application.
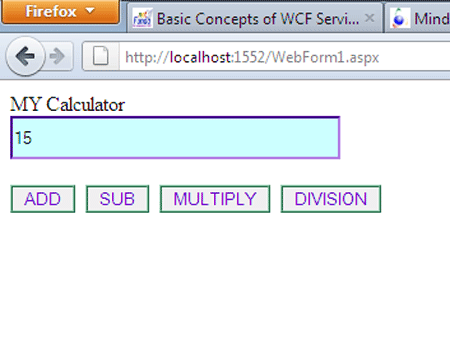
Here, we are using WCF service library in a Web Application by making a Demo of Calculator. We take four buttons i.e (ADD,SUB,MULTIPLY,DIVISION).
Creating WCF service:
Step 1:
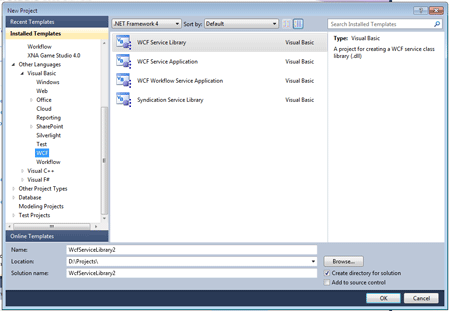
- Open VS 2008 > Projects > Select Visual Basic > WCF > WCF Service Library.
- Type name of the service file as u need I give 'WcfServiceLibrary1' then click Ok as shown below in figure:
- Add the Namespace System.ServiceModel and also add Reference in Solution Explorer.
- Type the Code in Interface file and class file as shown below.
- Code in Interface(EX: IService1.vb)
Code:
'NOTE: You can use the "Rename" command on the context menu to change the class name "Service1" in code, svc and config file together.
<ServiceContract()> _
Public Interface IService1
<OperationContract()> _
Function add(a As Integer, b As Integer) As Integer
<OperationContract()> _
Function [Sub](a As Integer, b As Integer) As Integer
<OperationContract()> _
Function Mul(a As Integer, b As Integer) As Integer
<OperationContract()> _
Function Div(a As Integer, b As Integer) As Integer
' TODO: Add your service operations here
End Interface
Step 2:
Code in Class file(EX: Service1.vb)
Public Class Service1
Implements IService1
Public Function add(a As Integer, b As Integer) As Integer
Return (a + b)
End Function
Public Function [Sub](a As Integer, b As Integer) As Integer
If a >= b Then
Return (a - b)
Else
Return (b - a)
End If
End Function
Public Function Mul(a As Integer, b As Integer) As Integer
Return (a * b)
End Function
Public Function Div(a As Integer, b As Integer) As Integer
If a >= b Then
Try
Return (a \ b)
Catch
Return 0
End Try
Else
Return (b \ a)
End If
End Function
End Class
Step 3: Start Debugging by pressing F5.

Consuming WCF Service in Web Application:
Step 4: Open the visual studio and go to the file menu.
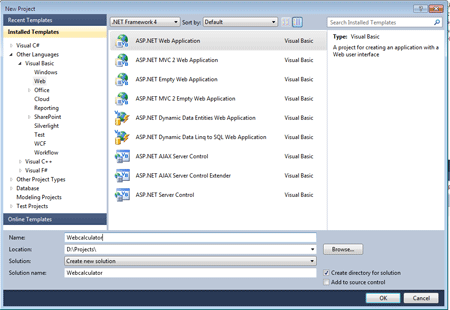
Step 5: Go to Solution Explorer.
-
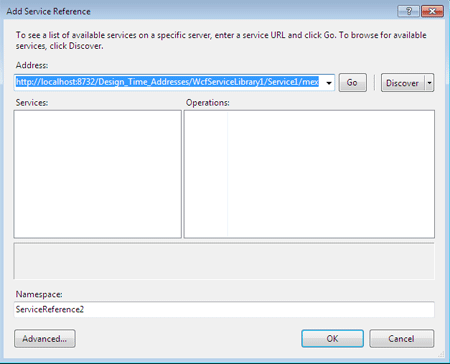
Right click on References and select Add Service Reference.
-
Add Service Reference dialog box will appear.
-
Paste the address which is copied in step 4.
-
Press OK button as shown below in figure:
Step 6: Now, take five controls in the div tag on orm design.
Code:
Public Class WebForm1
Inherits System.Web.UI.Page
Protected Sub Page_Load(ByVal sender As Object, ByVal e As System.EventArgs) Handles Me.Load
End Sub
Protected Sub Button1_Click(sender As Object, e As EventArgs) Handles Button1.Click
End Sub
End Class
Partial Public Class WebForm1
Inherits System.Web.UI.Page
Protected Sub Page_Load(sender As Object, e As EventArgs)
Response.Write("MY Calculator")
End Sub
Private Client As New ServiceReference1.Service1Client()
Protected Sub Button1_Click(sender As Object, e As EventArgs)
TextBox1.Text = (Client.add(10, 5).ToString())
End Sub
Protected Sub Button2_Click(sender As Object, e As EventArgs)
TextBox1.Text = (Client.add(10, 6).ToString())
End Sub
Protected Sub Button3_Click(sender As Object, e As EventArgs)
TextBox1.Text = (Client.add(10, 7).ToString())
End Sub
Protected Sub Button4_Click(sender As Object, e As EventArgs)
TextBox1.Text = (Client.add(10, 8).ToString())
End Sub
End Class
Step 8: Now we press F5 and run this application and result shows like figure below: