Excel.RemoveDuplicates Method in MS Excel to Enable Removal of Duplicate Rows in VB.NET
In this article I am going to explain about how to enable removal of duplicate rows in Microsoft Excel 2010.
Introduction
In this article I am going to explain about how to enable removal of duplicate rows in Microsoft Excel 2010. For this we use Excel.RemoveDuplicates Method. Using this method we can remove duplicate rows.
Microsoft Office 2010 offer some powerful tools, using this tools you can create application. Using Microsoft Visual Basic for Applications (VBA) you can create your own application according to your need. These application can performer some specific task.
For creating application we can use
- VBA host of Excel 2010
- VBA host of PowerPoint 2010
- VBA host of Word 2010
NOTE : OneNote 2010 is not a VBA host.
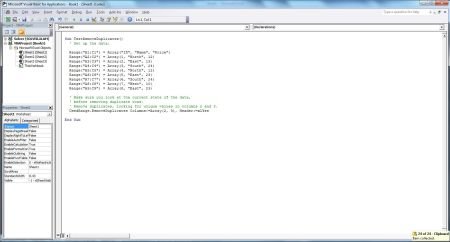
Code that we use in this application are given below
ub TestRemoveDuplicates()
' Set up the data:
Range("A1:C1") = Array("ID", "Name", "Price")
Range("A2:C2") = Array(1, "North", 12)
Range("A3:C3") = Array(2, "East", 13)
Range("A4:C4") = Array(3, "South", 24)
Range("A5:C5") = Array(4, "North", 12)
Range("A6:C6") = Array(5, "East", 23)
Range("A7:C7") = Array(6, "South", 24)
Range("A8:C8") = Array(7, "West", 10)
Range("A9:C9") = Array(8, "East", 23)
' Make sure you look at the current state of the data,
' before removing duplicate rows.
' Remove duplicates, looking for unique values in columns 2 and 3.
UsedRange.RemoveDuplicates(Columns:=Array(2, 3), Header:=xlYes)
End Sub
Step for creating Application
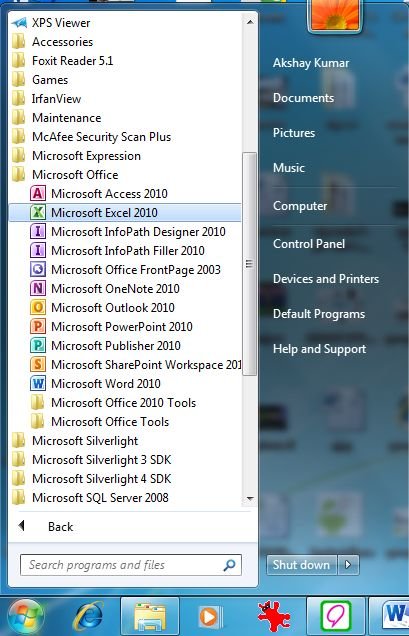
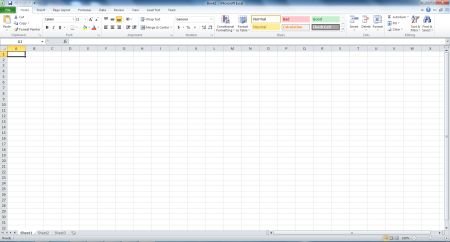
Step 1 : Start MS Excel 2010 :
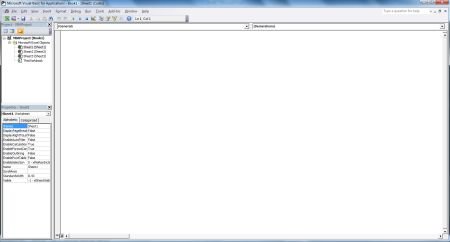
Step 2 : Using Alt + F11 Key Start Visual Basic for Applications (VBA) Window :

Step 3 : Select on Sheet 1 :

Step 4 : Right Click on Sheet 1 and select View Code :

Step 5 : Write Code in Visual Basic for Applications (VBA) Window :
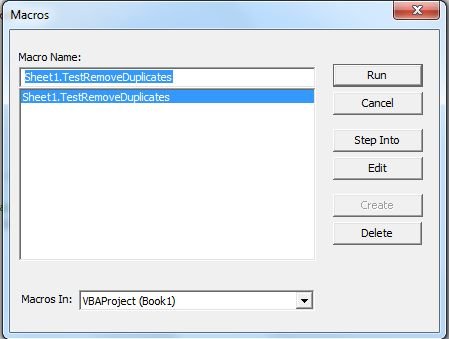
Step 6 : Run Application using F5 :
Step 7 : Macros window will open, Select Macros name and click on Run Button :
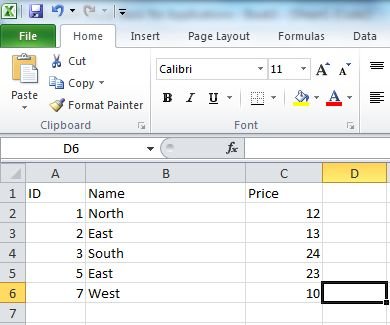
Step 8 : Output of Application :