OpacityMask property WPF in VB.NET
This article defines the OpacityMask and opacity property in XAML.
This article defines the OpacityMask and opacity property in XAML.
OpacityMask property
In WPF the most of controls expose a property called OpacityMask which allows to create transparency areas along the object itself and diffuse those areas in different manners.
For example
Now creating a image control and set the source property of the control.
XAML code
<Image Height="150" HorizontalAlignment="Right" Margin="0,37,247,0" Name="Image1" Stretch="Fill" VerticalAlignment="Top" Width="200" Source="/WpfApplication75;component/Images/image1.jpg.gif" />
Now run the application.

Figure1.gif
Now using OpacityMask property for transparency.
XAML code
Window x:Class="MainWindow"
xmlns="http://schemas.microsoft.com/winfx/2006/xaml/presentation"
xmlns:x="http://schemas.microsoft.com/winfx/2006/xaml"
Title="MainWindow" Height="350" Width="525">
<Grid>
<Image Height="150" HorizontalAlignment="Right" Margin="0,37,247,0" Name="Image1" Stretch="Fill" VerticalAlignment="Top" Width="200" Source="/WpfApplication75;component/Images/image1.jpg.gif" OpacityMask="#710095AA"/>
</Grid>
</Window>
Now run the application and test it.

Figure2.gif
Opacity property
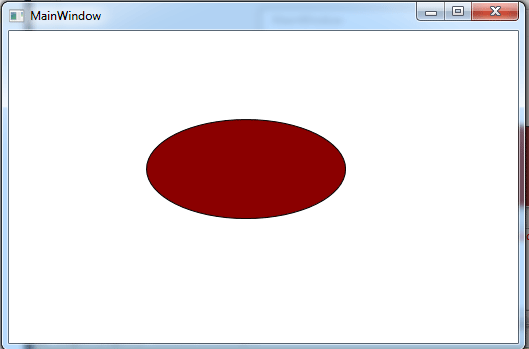
Now creating a Ellipse and set the fill property to fill the ellipse.
XAML code
<Ellipse Height="100" HorizontalAlignment="Left" Margin="137,88,0,0" Name="Ellipse1" Stroke="Black" VerticalAlignment="Top" Width="200" Fill="DarkRed" />
Now run the application.

Figure3.gif
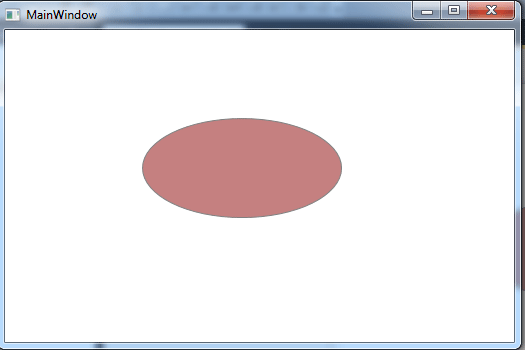
Now using Opacity property.
XAML code
<Ellipse Height="100" HorizontalAlignment="Left" Margin="137,88,0,0" Name="Ellipse1" Stroke="Black" VerticalAlignment="Top" Width="200" Fill="DarkRed" Opacity="0.5"/>
Now run the application and test it.

Figure4.gif