A DateTimePicker control allows users to select a date and time in Windows Forms applications. In this tutorial, we will see how to create a DateTimePicker control at design-time as well as at run-time, set its properties and call its methods.
Creating a DateTimePicker
We can create a DateTimePicker control using the Forms designer at design-time or using the DateTimePicker class in code at run-time (also known as dynamically).
Design-time
To create a DateTimePicker control at design-time, you simply drag and drop a DateTimePicker control from Toolbox to a Form in Visual Studio. After you drag and drop a DateTimePicker on a Form, the DateTimePicker looks like Figure 1. Once a DateTimePicker is on the Form, you can move it around and resize it using mouse and set its properties and events.
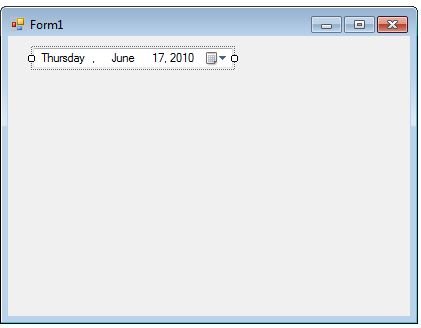
Figure 1
Now if you run the application and click on the calendar icon in the control, you will see a monthly calendar pops us for the current month as shown in Figure 2.
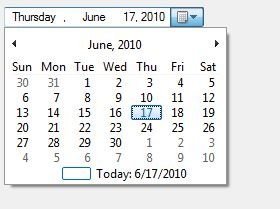
Figure 2
Run-time
Creating a DateTimePicker control at run-time is merely a work of creating an instance of DateTimePicker class, set its properties and adds DateTimePicker class to the Form controls.
First step to create a dynamic DateTimePicker is to create an instance of DateTimePicker class. The following code snippet creates a DateTimePicker control object.
Dim dynamicDTP As New DateTimePicker()
In the next step, you may set properties of a DateTimePicker control. The following code snippet sets location, size and Name properties of a DateTimePicker.
dynamicDTP.Location = New System.Drawing.Point(10, 50)
dynamicDTP.Name = "dateTimePicker1"
dynamicDTP.Width = 250
dynamicDTP.Height = 25
Once the DateTimePicker control is ready with its properties, the next step is to add the DateTimePicker to a Form. To do so, we use Form.Controls.Add method that adds DateTimePicker control to the Form controls and displays on the Form based on the location and size of the control. The following code snippet adds a DateTimePicker control to the current Form.
Controls.Add(dynamicDTP)
Setting DateTimePicker Properties
After you place a DateTimePicker control on a Form, the next step is to set its properties.
The easiest way to set properties is from the Properties Window. You can open Properties window by pressing F4 or right click on a control and select Properties menu item. The Properties window looks like Figure 3.
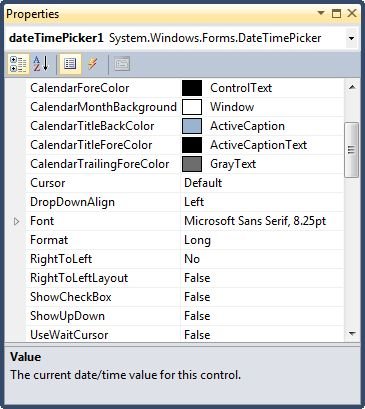
Figure 3
Name
Name property represents a unique name of a DateTimePicker control. It is used to access the control in the code. The following code snippet sets and gets the name and text of a DateTimePicker control.
dynamicDTP.Name = "DyanmicDateTimePicker"
Location, Height, Width and Size
The Location property takes a Point that specifies the starting position of the DateTimePicker on a Form. You may also use Left and Top properties to specify the location of a control from the left top corner of the Form. The Size property specifies the size of the control. We can also use Width and Height property instead of Size property. The following code snippet sets Location, Width, and Height properties of a DateTimePicker control.
dynamicDTP.Name = "DyanmicDateTimePicker"
dynamicDTP.Location = New System.Drawing.Point(12, 12)
dynamicDTP.Size = New System.Drawing.Size(200, 25)
dynamicDTP.Width = 200
dynamicDTP.Height = 25
Font
Font property represents the font of text of a DateTimePicker control. If you click on the Font property in Properties window, you will see Font name, size and other font options. The following code snippet sets Font property at run-time.
dynamicDTP.Font = New Font("Georgia", 12)
Text and Value
Text property represents the text of a DateTimePicker control. The Value property represents the currently set date time value in a control. The following code snippet gets the Text and Value properties at run-time.
MessageBox.Show(dynamicDTP.Text)
MessageBox.Show(dynamicDTP.Value.ToString())
Formatting Calendar
MinDate and MaxDate properties are used to set the minimum and maximum value of date and time can be selected by a control. The following code snippet sets the MinDate and MaxDate properties at run-time.
dynamicDTP.MinDate = new DateTime(2000, 1, 1)
dynamicDTP.MaxDate = DateTime.Today
DateTime Format
MinDate and MaxDate properties are used to set the minimum and maximum value of date and time can be selected by a control. The following code snippet sets the MinDate and MaxDate properties at run-time.
dynamicDTP.CustomFormat = "MMMM dd, yyyy - dddd"
dynamicDTP.Format = DateTimePickerFormat.Custom
Calendar Foreground and Background
CalendarFont,CalendCalendarForeColor, CalendarMonthBackground, CalendarTitleBackColor, and CalendarTitleForeColor properties may be used to format calendar. The following code snippet uses these properties to format a calendar part of the DateTimePicker control.
dynamicDTP.CalendarFont = New Font("Tahoma", 10.0F, FontStyle.Italic)
dynamicDTP.CalendarForeColor = Color.Black
dynamicDTP.CalendarMonthBackground = Color.Orange
dynamicDTP.CalendarTitleBackColor = Color.Yellow
dynamicDTP.CalendarTitleForeColor = Color.Black
ShowCheckBox and ShowUpDown
You can make a DateTimePicker control editable where you can change the value without using the Calendar. This can be done by setting ShowCheckBox property to true. Once this property is true, the date part of the control is editable.
We can also use an up-down control (spin button control) to set the date and time. To enable the spin button control, we just need to set the ShowUpDown property to true. The following code snippet sets these properties.
dynamicDTP.ShowCheckBox = True
dynamicDTP.ShowUpDown = True
DateTimePicker ValueChanged Event Hander
ValueChanged event is fired when the value of a DateTimePicker control is changed. This is important say if you need to refresh some data on the Form based on the value of the DateTimePicker is changed.
To add this property event handler, you go to Events window and double click on the ValueChanged event as you can see in Figure 4.
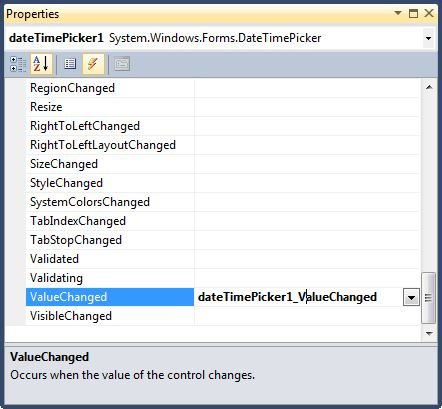
Figure 4
The following code snippet defines and implements these events and their respective event handlers.
AddHandler dynamicDTP.ValueChanged, AddressOf DateTimePickerValueChanged
Private Sub DateTimePickerValueChanged(ByVal obj As Object, _
ByVal ergs As EventArgs)
MessageBox.Show("New Datetime :" + dynamicDTP.Value.ToString())
End Sub
Summary
In this article, we discussed discuss how to create a DateTimePicker control in Windows Forms at design-time as well as run-time. After that, we saw how to use various properties and methods.