A MaskedTextBox control provides validation mechanism for user input on a Form. For example, if you want a TextBox to accept date in mm/dd/yyyy format, you can set masking in the MaskedTextBox.
In this article, I will discuss how to create a MaskedTextBox control in Windows Forms at design-time as well as run-time. After that, I will continue discussing various properties and methods available for the MaskedTextBox control.
Creating a MaskedTextBox
We can create a MaskedTextBox control using a Forms designer at design-time or using the MaskedTextBox class in code at run-time (also known as dynamically).
To create a MaskedTextBox control at design-time, you simply drag and drop a MaskedTextBox control from Toolbox to a Form in Visual Studio. After you drag and drop a MaskedTextBox on a Form, the MaskedTextBox looks like Figure 1. Once a MaskedTextBox is on the Form, you can move it around and resize it using mouse and set its properties and events.
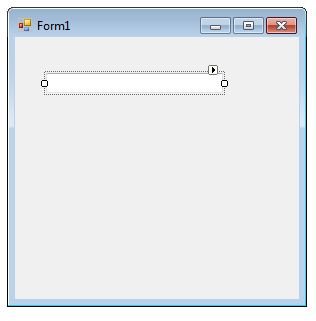
Figure 1
Creating a MaskedTextBox control at run-time is merely a work of creating an instance of MaskedTextBox class, set its properties and add MaskedTextBox class to the Form controls.
First step to create a dynamic MaskedTextBox is to create an instance of MaskedTextBox class. The following code snippet creates a MaskedTextBox control object.
Dim dynamicMaskedTextBox As New MaskedTextBox()
In the next step, you may set properties of a MaskedTextBox control. The following code snippet sets background color, foreground color, Text, Name, and Font properties of a MaskedTextBox.
dynamicMaskedTextBox.BackColor = Color.Red
dynamicMaskedTextBox.ForeColor = Color.Blue
dynamicMaskedTextBox.Text = "I am Dynamic MaskedTextBox"
dynamicMaskedTextBox.Name = "DynamicMaskedTextBox"
dynamicMaskedTextBox.Font = New Font("Georgia", 16)
Once a MaskedTextBox control is ready with its properties, next step is to add the MaskedTextBox control to the Form. To do so, we use Form.Controls.Add method. The following code snippet adds a MaskedTextBox control to the current Form.
Controls.Add(dynamicMaskedTextBox)
Setting MaskedTextBox Properties
After you place a MaskedTextBox control on a Form, the next step is to set properties.
The easiest way to set properties is from the Properties Window. You can open Properties window by pressing F4 or right click on a control and select Properties menu item. The Properties window looks like Figure 2.
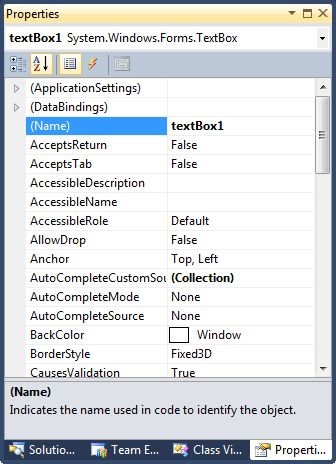
Figure 2
Location, Height, Width, and Size
The Location property takes a Point that specifies the starting position of the MaskedTextBox on a Form. The Size property specifies the size of the control. We can also use Width and Height property instead of Size property. The following code snippet sets Location, Width, and Height properties of a MaskedTextBox control.
dynamicMaskedTextBox.Location = New Point(20, 150)
dynamicMaskedTextBox.Height = 40
dynamicMaskedTextBox.Width = 300
Background, Foreground, BorderStyle
BackColor and ForeColor properties are used to set background and foreground color of a MaskedTextBox respectively. If you click on these properties in Properties window, the Color Dialog pops up.
Alternatively, you can set background and foreground colors at run-time. The following code snippet sets BackColor and ForeColor properties.
dynamicMaskedTextBox.BackColor = Color.Red
dynamicMaskedTextBox.ForeColor = Color.Blue
You can also set borders style of a MaskedTextBox by using the BorderStyle property. The BorderStyle property is represented by a BorderStyle enumeration that has three values â€" FixedSingle, Fixed3D, and None. The default value of border style is Fixed3D. The following code snippet sets the border style of a MaskedTextBox to FixedSingle.
dynamicMaskedTextBox.BorderStyle = BorderStyle.FixedSingle
Name
Name property represents a unique name of a MaskedTextBox control. It is used to access the control in the code. The following code snippet sets and gets the name and text of a MaskedTextBox control.
dynamicMaskedTextBox.Name = "DynamicMaskedTextBox"
Text, TextAlign, and TextLength
Text property of a MaskedTextBox represents the current text of a MaskedTextBox control. The TextAlign property represents text alignment that can be Left, Center, or Right. The TextLength property returns the length of a MaskedTextBox contents.
The following code snippet sets the Text and TextAlign properties and gets the size of a MaskedTextBox control.
dynamicMaskedTextBox.Text = "I am Dynamic MaskedTextBox"
dynamicMaskedTextBox.TextAlign = HorizontalAlignment.Center
Font
Font property represents the font of text of a MaskedTextBox control. If you click on the Font property in Properties window, you will see Font name, size and other font options. The following code snippet sets Font property at run-time.
dynamicMaskedTextBox.Font = New Font("Georgia", 16)
Maximum Length
You can restrict number of characters in a MaskedTextBox control by setting MaxLength property. The following code snippet sets the maximum length of a MaskedTextBox to 50 characters.
dynamicMaskedTextBox.ReadOnly = True
dynamicMaskedTextBox.MaxLength = 50
Masking Related Properties
Mask
Mask the default property and represents the format of the input can be accepted by a control. We can set Mask property by clicking on the control and click on the little handler and select Set Mask link as you can see in Figure 3.
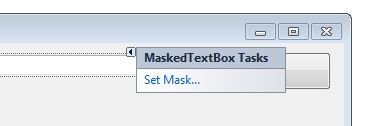
Figure 3
Set Mask launches Input Mask dialog where we can select a mask and you can see its data format and also set the validation type. See Figure 4.
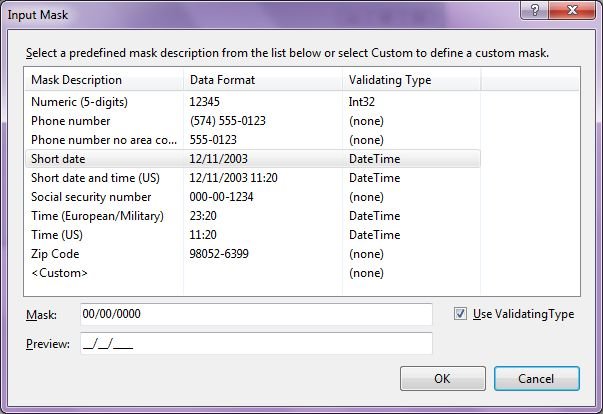
Figure 4
The following code snippet sets the Mask property at run-time.
dynamicMaskedTextBox.Mask = "00/00/0000"
Here is a list and description of masking characters.
- 0 â€" Digit, required. Value between 0 and 9.
- · 9 â€" Digit or space, optional.
- · # - Digit or space, optional. If this position is blank in the mask, it will be rendered as a space in the Text property.
- · L - Letter, required. Restricts input to the ASCII letters a-z and A-Z.
- · ? - Letter, optional. Restricts input to the ASCII letters a-z and A-Z.
- · & - Character, required.
- · C - Character, optional. Any non-control character.
- · A - Alphanumeric, required.
- · a - Alphanumeric, optional.
- · . - Decimal placeholder.
- · , - Thousands placeholder.
- · : - Time separator.
- · / - Date separator.
- · $ - Currency symbol.
- · < - Shift down. Converts all characters that follow to lowercase.
- · > - Shift up. Converts all characters that follow to uppercase.
- · | - Disable a previous shift up or shift down.
- · \ - Escape. Escapes a mask character, turning it into a literal. "\\" is the escape sequence for a backslash.
- · All other characters - Literals. All non-mask elements will appear as themselves within MaskedTextBox. Literals always occupy a static position in the mask at run time, and cannot be moved or deleted by the user.
MaskFull
MaskFull property represents if the mask values are completed.
If (MaskedTextBox1.MaskFull) Then
End If
BeepOnError
If set true, the system beep is generated when incorrect values are entered.
dynamicMaskedTextBox.BeepOnError = True
Summary
A MaskedTextBox control accepts user input on a Form. In this article, we discussed discuss how to create a MaskedTextBox control in Windows Forms at design-time as well as run-time. After that, we saw how to use various properties and methods.