ToolStrip control provides functionality of a Windows toolbar controls in Visual Studio 2010. ToolStrip class represents a ToolStrip control in Windows Forms and serves as a base class of MenuStrip, StatusStrip, and ContextMenuStrip classes.
In this article, I will discuss how to create and use a ToolStrip control and use its properties and methods.
We can create a ToolStrip control at design-time using Visual Studio designer or using the ToolStrip class at run-time.
Using Designer
To create a ToolStrip control at design-time, simply drag and drop a ToolStrip control from Toolbox onto a Form. By default, a ToolStrip control is docked at the top of the Form. We can change docking and other properties using the Tasks control as shown in Figure 1.
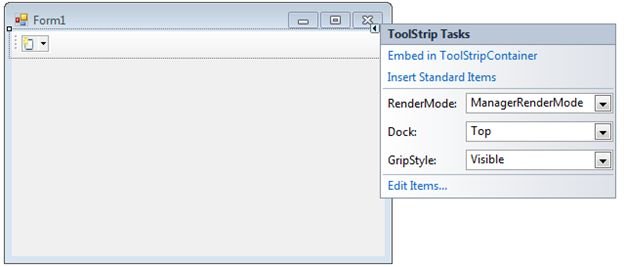
Figure 1
Next step is to set ToolStrip control properties. We can set properties by calling Properties window if a control using Right click on the control and selecting Properties menu item or simply hit F4. Figure 2 shows Properties window where I set BackColor to green and GripStyle to Visible.
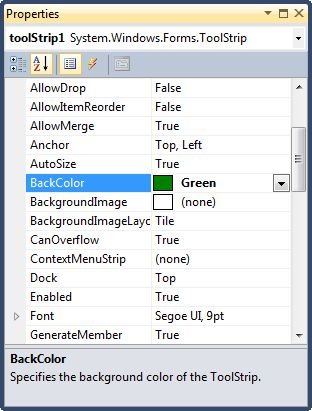
Figure 2
A ToolStrip control is nothing but a container without adding its child controls. A ToolStrip control is capable of hosting Button, Label, SplitButton, DropDownButton, Separator, ComboBox, TextBox and ProgressBar controls.
Now let's add a few controls to ToolStrip control.
If you click on little dropdown handle on a ToolStrip control in designer, you will see a list of possible controls (See Figure 3) that can be added to a ToolStrip. To add a control, simply select that control and it will be added to the ToolStrip control.
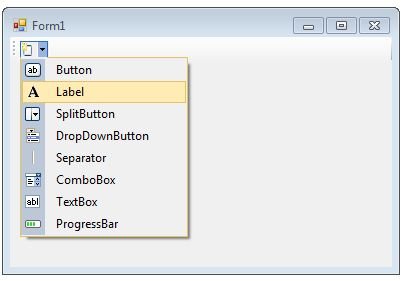
Figure 3
Another way to add controls to a ToolStrip control is by using the Items property.
Click on the Items property and you will see Item Collection Editor that looks like Figure 4. We are going to add a Button, a TextBox, and a Label control to ToolStrip with a few separators.
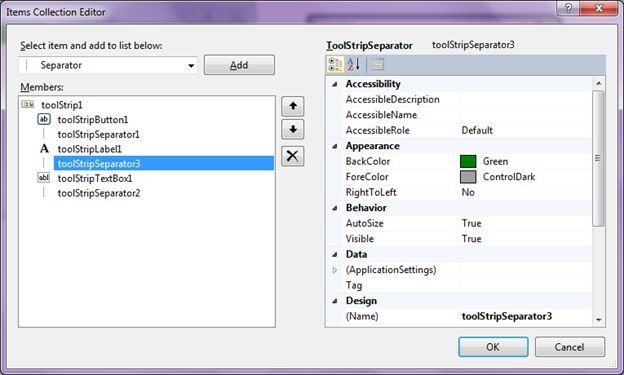
Figure 4
If you need to reposition controls, you can simply use up and down arrows.
Here is a good part. Once these controls are added to a ToolStrip control, the all act as individual controls and you can access them by using their Name property anywhere in the code.
Now let's create a sample. We are going to add three Button controls, three separators and a Label control as you can see in Figure 5.

Figure 5
Now next we are going to set an icon for the Button controls by setting Image property of Button. See Figure 6.
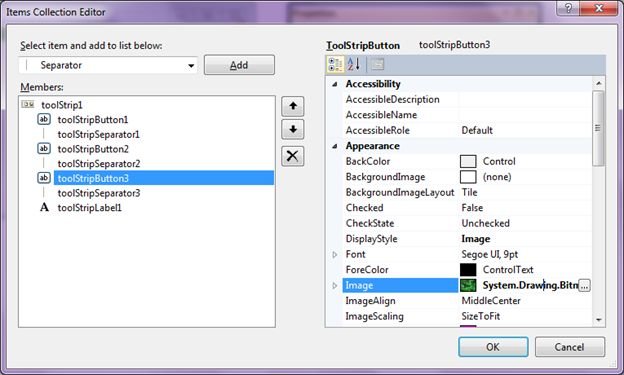
Figure 6
Once you click on the browse option to browse an image, Resource editor window pops up where you can import an image. Click on Import button and browse an image file.
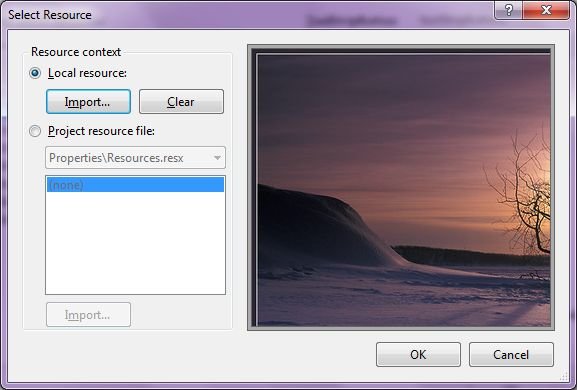
Figure 7
We set three icons for all three buttons and the ToolStrip looks like Figure 8.
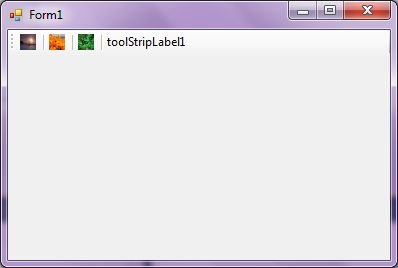
Figure 8
Next step is to set the button click event handler. It is easy. Just double click or use Events window and set click event handlers for all three buttons.
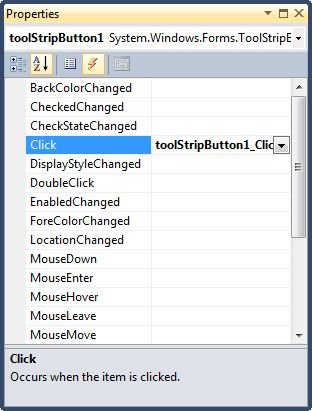
Figure 9
Three button click event handlers look like following where we set Text property of Label.
Private Sub ToolStripButton1_Click(ByVal sender As System.Object, _
ByVal e As System.EventArgs) Handles ToolStripButton1.Click
ToolStripLabel1.Text = "Button1 is clicked"
End Sub
Private Sub ToolStripButton2_Click(ByVal sender As System.Object, _
ByVal e As System.EventArgs) Handles ToolStripButton2.Click
ToolStripLabel1.Text = "Button2 is clicked"
End Sub
Private Sub ToolStripButton3_Click(ByVal sender As System.Object, _
ByVal e As System.EventArgs) Handles ToolStripButton3.Click
ToolStripLabel1.Text = "Button3 is clicked"
End Sub
Now if you run the project and click on Buttons, you will see something like Figure 10.
Figure 10
Summary
In this article, we discussed discuss how to create and use a ToolStrip control in a Windows Forms application.