A ProgressBar control is used to represent the progress of a lengthy operation that takes time where a user has to wait for the operation to be finished.
In this article, we will see how to create a ProgressBar control in a Windows Forms application using Visual Studio 2010. We will also discuss properties and methods defined in the ProgressBar class.
Creating a ProgressBar
We can create a ProgressBar control using a Forms designer at design-time or using the ProgressBar class in code at run-time.
Design-time
To create a ProgressBar control at design-time, you simply drag and drop a ProgressBar control from Toolbox to a Form in Visual Studio. After you drag and drop a ProgressBar on a Form, the ProgressBar1 is added to the Form and looks like Figure 1.
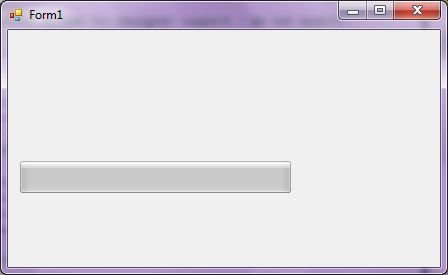
Figure 1
Run-time
Creating a ProgressBar control at run-time is merely a work of creating an instance of ProgressBar class, set its properties and adds ProgressBar class to the Form controls.
First step to create a dynamic ProgressBar is to create an instance of ProgressBar class. The following code snippet creates a ProgressBar control object.
C# Code:
ProgressBar pBar = new ProgressBar();
VB.NET Code:
Dim pBar As New ProgressBar()
In the next step, you may set properties of a ProgressBar control. The following code snippet sets Location, Name, Width, and Height properties of a ProgressBar.
C# Code:
pBar.Location = new System.Drawing.Point(20, 20);
pBar.Name = "progressBar1";
pBar.Width = 200;
pBar.Height = 30;
VB.NET Code:
pBar.Location = New System.Drawing.Point(20, 20)
pBar.Name = "progressBar1"
pBar.Width = 200
pBar.Height = 30
Once the ProgressBar control is ready with its properties, the next step is to add the ProgressBar to a Form. To do so, we need to add the ProgressBar control to the Form using Controls.Add method as following.
C# Code:
Controls.Add(pBar);
VB.NET Code:
Controls.Add(pBar)
Setting ProgressBar Properties
After you place a ProgressBar control on a Form, the next step is to set properties.
The easiest way to set properties is from the Properties Window. You can open Properties window by pressing F4 or right click on a control and select Properties menu item. The Properties window looks like Figure 2.
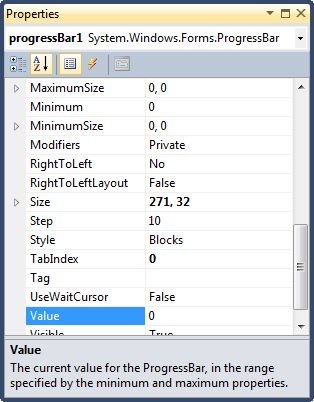
Figure 2
Name
Name property represents a unique name of a ProgressBar control. It is used to access the control in the code. The following code snippet sets and gets the name and text of a ProgressBar control.
C# Code:
PBar.Name = "ProgresBar1";
VB.NET Code:
PBar.Name = "ProgresBar1"
Positioning a ProgressBar
We can use the Location property to position a control. We can also dock a control using the Dock property.
Note: A ProgressBar can only be positioned horizontally.
The Dock property is used to set the position of a ProgressBar. It is of type DockStyle that can have values Top, Bottom, Left, Right, and Fill. The following code snippet sets Location, Width, and Height properties of a ProgressBar control.
C# Code:
pBar.Dock = DockStyle.Bottom;
VB.NET Code:
PBar.Dock = DockStyle.Bottom
Minimum, Maximum, and Value
The Minimum and Maximum properties define the range of a ProgressBar. The Value property represents the current value of a ProgressBar. The current value of the ProgressBar from the minimum value is colored green shows the progress of a control. We can also use the Value property to show the progress of an operation.
C# Code:
pBar.Minimum = 0;
pBar.Maximum = 100;
pBar.Value = 70;
VB.NET Code:
PBar.Minimum = 0
PBar.Maximum = 100
PBar.Value = 70
A ProgressBar with a value looks like Figure 3.
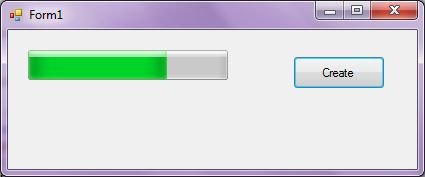
Figure 3
RightToLeftLayout and MarqueeAnimationSpeed
The default progress of a ProgressBar is from left to right. But the ProgressBar control can also show the progress from right to left by setting RightToLeftLayout to true. The MarqueeAnimationSpeed property represents the time period, in milliseconds, that it takes the progress block to scroll across the progress bar.
Summary
In this article, we discussed discuss how to create menus using the ProgressBar control. First we discussed how to create menus at design-time and run-time. After that we saw, how to set menus properties and click event handlers.